How to Create a Free Logo for your Facebook Business Page (For Counselors)
Designing gorgeous logos has become a part time obsession of mine. Canva makes it so easy too. With just a few clicks and adjustments you can have a professional, poised, and polished logo for your website and Facebook Business page. And the best part is you can do it all for FREE! Get this, I made the logo for my Facebook Ads for Counselors company in just 5 minutes! You can create your logo that quickly too. Let me show you.
In this article I will take you through making a basic logo,
step-by-step with pictures. You don’t need to have any previous design
experience. You also don’t need to be particularly creative. Canva does a lot of the work for you.
1. On Canva's Home Page, please select the tab option "For You".
2. Click the right arrow to scroll to the right until you find the "Logo" option.
3. Select the "Logo" option.
4. When it opens it will already be on the design tab. Stay there.
5. Scroll through and find a basic design which you like. You will also want to consider if the design will work well with the length of your business name and other information you plan to include in your logo.
For example, the logo I chose for this demonstration will have: the business name, type of counseling, and location. You can also keep it simple and just have your business name. You could not include your location and instead include a slogan. The possibilities are numerous.
6. When you find a design you like, click it once and it will automatically fill on the template.
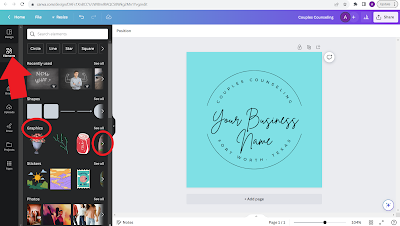
13. When you have perfected your font, make sure you save it the brand tab so you can easily find it again when you need it for other projects later.
16. Don't forget to add the color to your brand.
18. Most of you will want to move your graphic to be behind your business name. To do this you'll need to right click on the graphic, then select, "Layers". When the menu appears, opt to "send to back".
19. There you have it! A ready to go beautiful logo, designed by YOU for FREE!
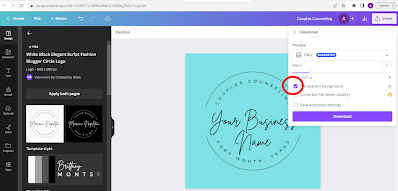
20. To save, select the "Save" icon at the top right corner of the screen. Then select PNG or JPG. Choose "Download".
21. You will want to save your logo in two forms. 1) It's original form and 2) with the background transparent so you can place it on memes and other posts you create in Canva for your Facebook business page.


.png)


Comments
Post a Comment